

 Rashad Glover
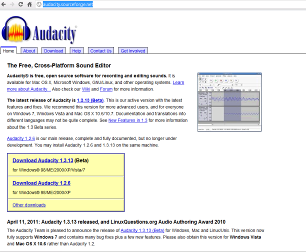
Soundcloud.com is one of the most useful community websites I ever joined. Soundcloud.com allows you to upload your sound files and share them with everyone. There are a couple of things you’re going to have to learn before we can start to upload sound files.
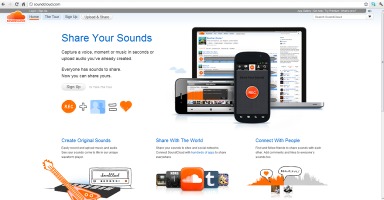
(Screenshot of Soundcloud.com Home Page)
I’m assuming you have already signed up and have a working Facebook.com account. So we’re going to log in to Soundcloud.com using Facebook.
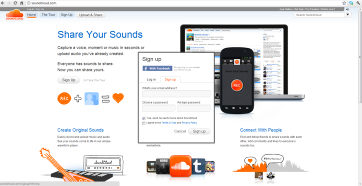
(Screenshot of Me Logging in Using My Facebook Account)
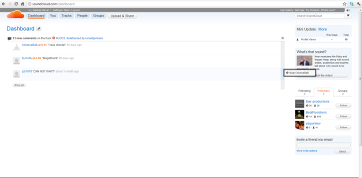
Once you have logged into your Soundcloud.com using your Facebook account, you’re going to see your “Dashboard”. Your Dashboard is pretty much your home page after you have logged into your account (most websites refer to it as your profile page or home once you have logged in).
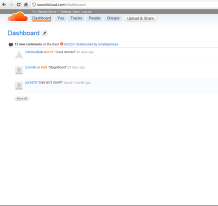
(Screenshot of Your Soundclound.com Dashboard)
Now we are going to click on the link labeled “You” at the top of your screen. The “You” link will take you to the “Your things” page that should display all of your content if you have anything uploaded. Since we don’t yet have anything uploaded we’re going to move on to the next step.
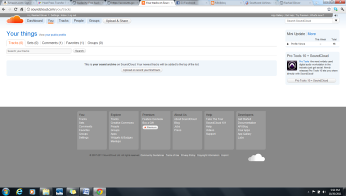
(Screenshot of the “Your things” page)
Now open your internet browser and go to http://audacity.sourceforge.net/ . Once you have loaded the Audacity home page, go to the download pages by clicking on the tab labeled “Download”.
(Screenshot http://audacity.sourceforge.net/ )
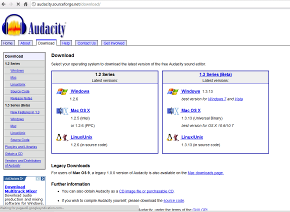
(Screenshot of the “Download” page.)
Depending on the type of computer and operating system (OS) you’re using (Mac OSX , Windows XP/7 or Linux) you’re going to click on the icon that relates to your OS. I’m using Windows 7 at this time. Most people have windows machines so for that purpose I will use Windows 7. If you’re using a Mac dont worry, the setup is almost the same, if not easier.
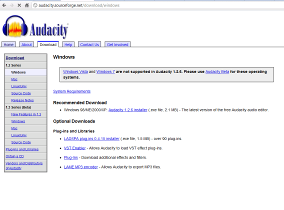
(Screenshot of the Audacity Downloads Page for Windows XP or Older)
If you’re using Windows XP you’re going to want to click on the stable recommended version of Audacity. I’m using Windows 7 so I’m going to use the new Beta (experimental) version. Once you have clicked on the link and downloaded the file you need, you are going to want to run it by clicking run (Macs might ask to install. Just click “OK” or “install” or any related term).

(Screenshot of the Windows Security Warning, just click “Run”.)

(Screenshot of language prompt for Audacity, just click “OK” assuming you speak English.)

(Screenshot of Setup Wizard ,Click “Next>”.)
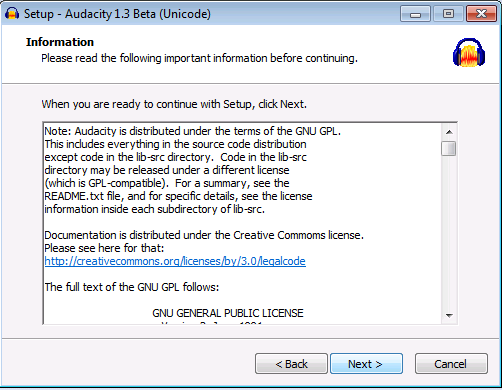
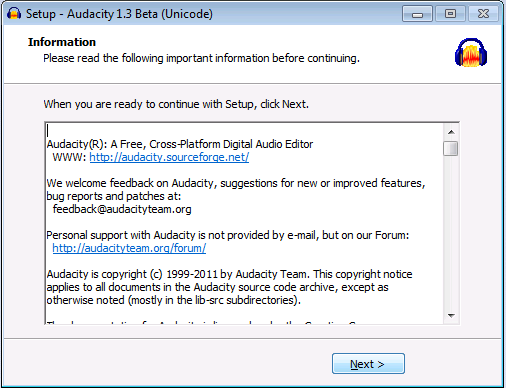
(Screenshot of the terms and conditions prompt, click “Next >”)
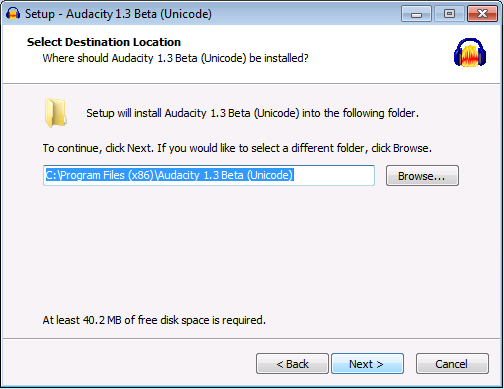
(Screenshot of the install location prompt, click “Next>”.)
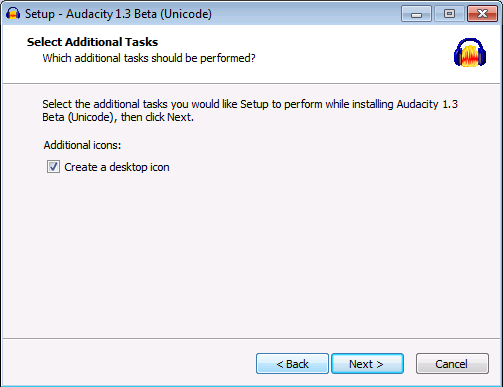
(Screenshot of the “Create a desktop icon” option, click “Next>”.)
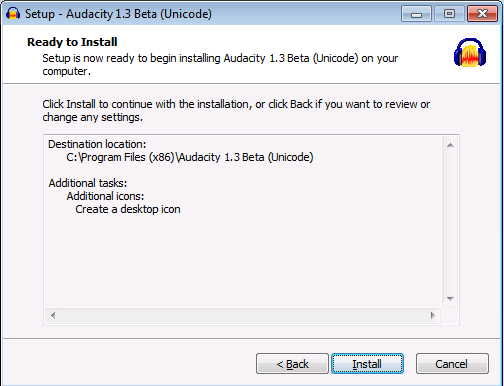
(Now hit the “Install” button.)
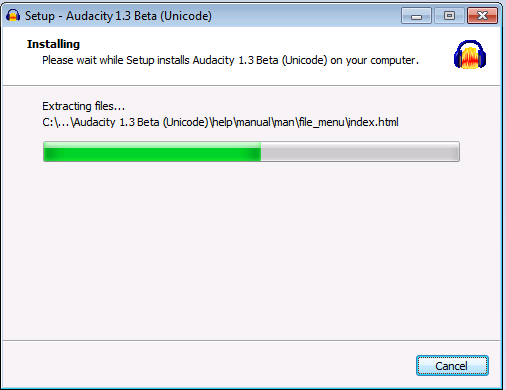
(Now all you have to do is sit back and wait on the progress bar to fills up.)
(Click “Next>”.)
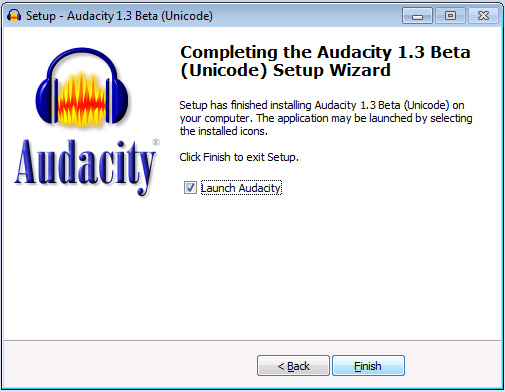
(Click “Finish”.)
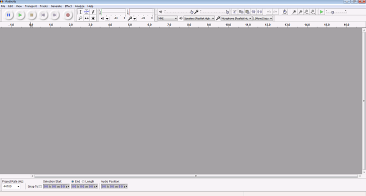
(After Audacity loads, click the red circular button to start recording using your computer’s microphone.)
Although Soundcloud.com allows you to upload .wav files, we’re going to go ahead and install the Lame encoder. The Lame encoder allows us to export our sound files in .mp3 format which is a more compressed then a default .wav file.
(Now go back to the Audacity web page and click the “Help” tab.)
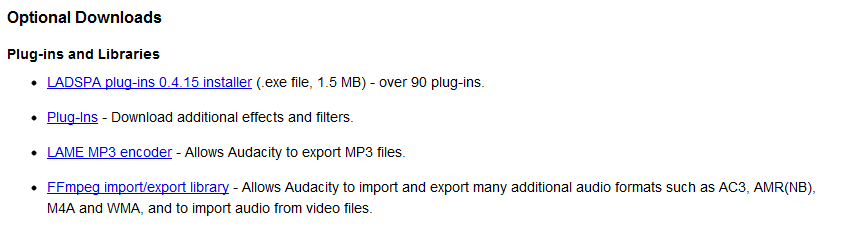
(Click on the “LAME MP3 encoder” link.)
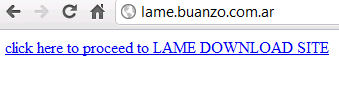
(Now click on the “click here to proceed to LAME DOWNLOAD STIE”.)
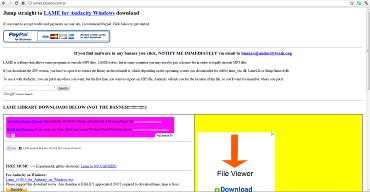
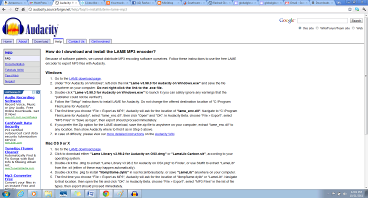
(Screen shot of the LAME download site.)
Be careful, this site is riddled with links that will take you somewhere else. Make sure you click on the correct link or you will be carried off to a sponsored link.
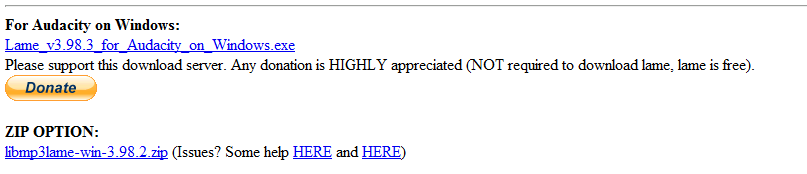
(Click the link above the Donate button labeled Lame V. some time depending on the version out when you read this.)
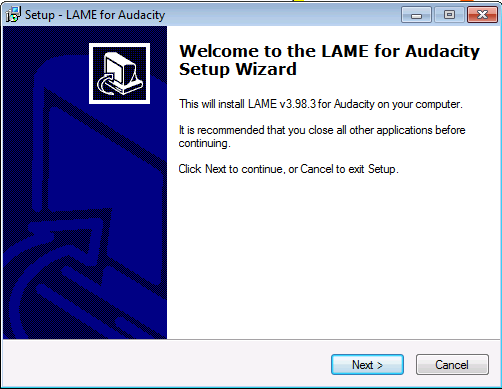
(Once you have downloaded the LAME file double click it and click the “Next>” button.)
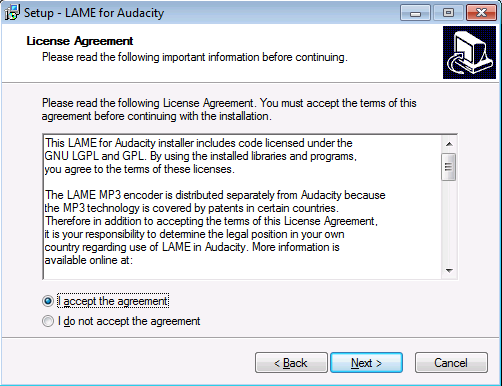
(Accept the agreement and click the “Next>” button.)
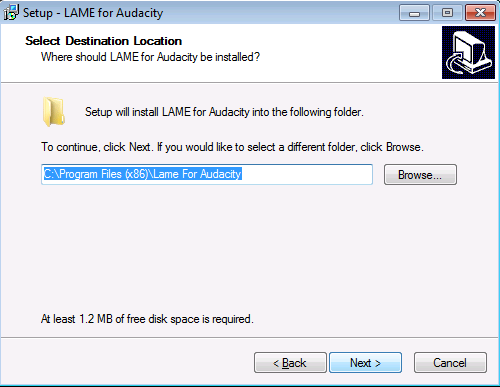
(click the “Next>” button)
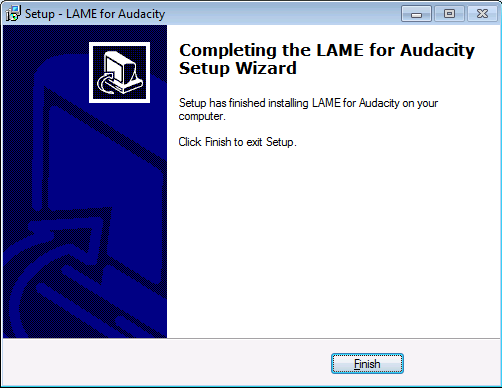
(Click the ” Finish” button.)
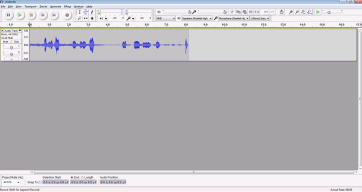
(Now open Audacity and record some sample by clicking the red circle button.)

(The red button on the far right is your record button.)
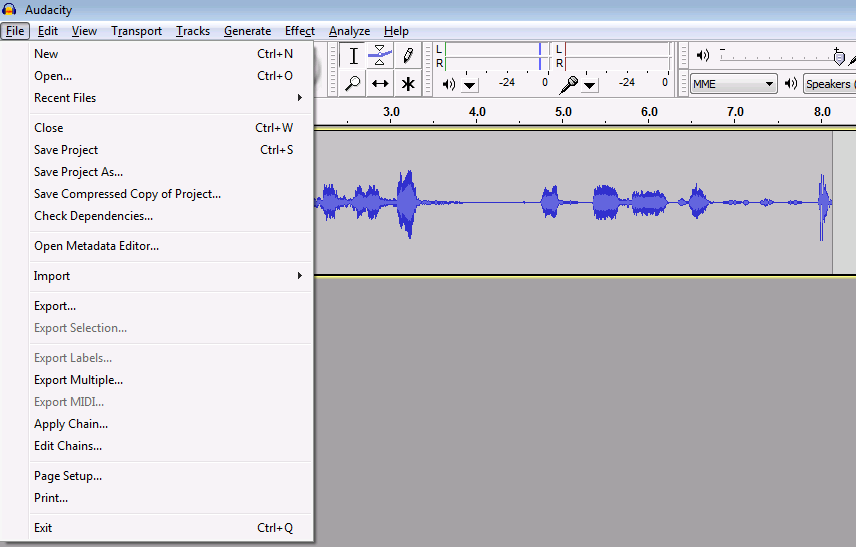
(Now go to the File tab and bring up the menu.)
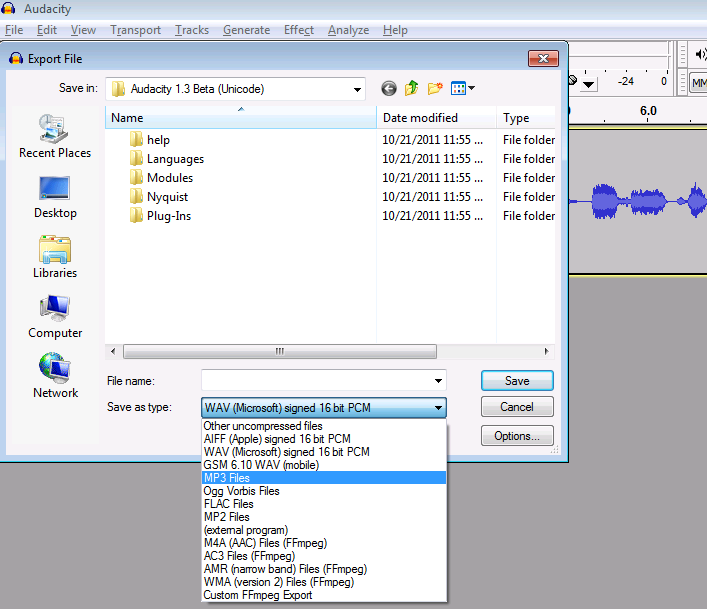
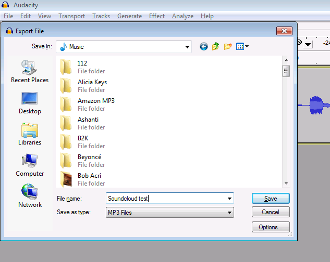
(Click on the “Save As Type” drop down menu and select “MP3 Files”.)
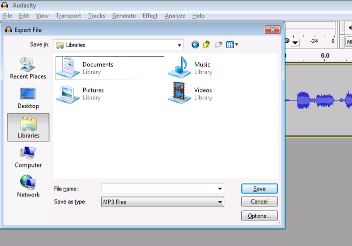
(Now click the Music folder on your computer. It should be around the documents or in your Library folder depending on your OS.)
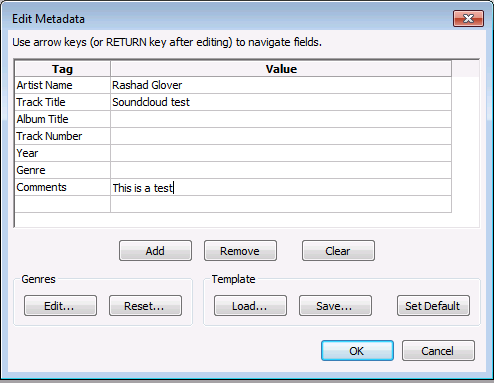
(Now do the same thing “Edit Metadata”” when it pops up.)
(Now go back to your Dashboard of your Soundcloud.com account.)
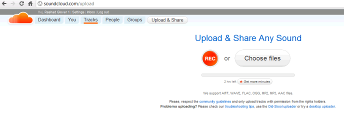
(Now click the “Upload or record your first track” button.)

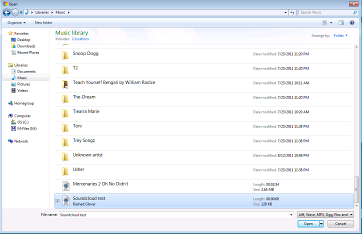
(Click the “Choose Files” button.)
(Now choose your file and click the “Open” button.)
(You should now see your file uploading.)
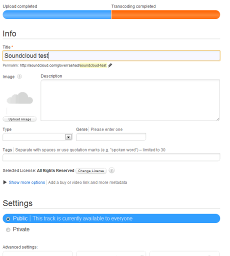
(Make sure you fill out all the information and click the “Save” button.)
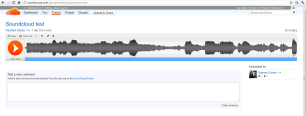
(Your file should now be uploaded and ready to test.)
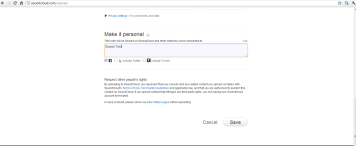
(Now click the “Share” button to see your sharing options.)
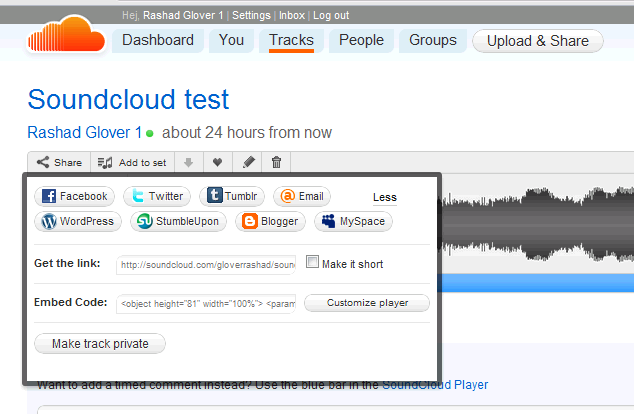
(Once you click the “Share” button you should be able to see all your sharing options.)
Now that you have your sound file published, you now share it with the world via community site’s or your personal website by copying the embed code and pasting it in to your blog or send it directly to your profile pages on twitter and Facebook.