

 Rashad Glover
Setting up your own online store is very simple. You can even integrate your website with Facebook and your blog if you take the time to learn how to do. If you know how to copy and paste a paragraph from a web site and paste it elsewhere you should be able to set up your own online store.
One of my favorite new websites is called Ecwid.com. Setting up an online store is very simple and it can be integrated into any type of website, even one for your cell phone. If you just want to sell your new book in PDF format (un-editable document) or a t-shirt you have made, this is the way. There are other companies like Google and e-junkie.com that allow you to take a block of HTML code and paste it in a HTML area just as if you were pasting something you typed in an email. Its just that simple. I personally feel like Ecwid.com has the cleanest and easiest interface.
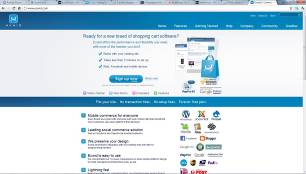
(Screenshot of Ecwid.com’s home page.)
Its very simple to sign up, just click the sign up button and use your Gmail.com account that you created in one of the previous chapters.
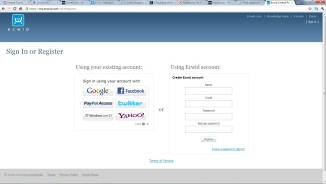
(Screenshot of Ecwid.com’s sign in page.)
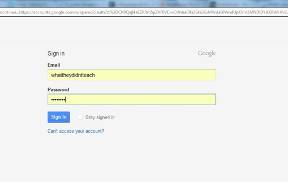
(Screenshot of the Gmail popup window for Ecwid.com’s login.)
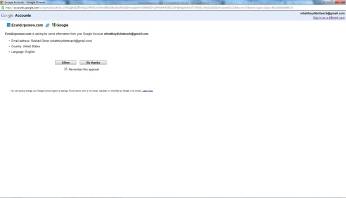
(Screenshot of me clicking allow.)
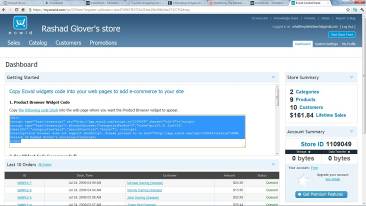
Once you’re in your new Ecwid.com account, they are going to ask you for verification. So make sure that you go to your Gmail account and reply to their email. One of the first things you see is that cool block of code I told you about. Attention!!!!!! Don’t be afraid of that block of code. You don’t even have to care about what it is. Just make sure you copy it all when the time comes. I’m going to take the three sample codes they gave me an paste them into my personal RashadGlover.com website. Go back to your WordPress.com and login. Then I want you to create a new page and call it “Shop”.
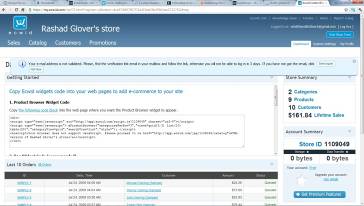
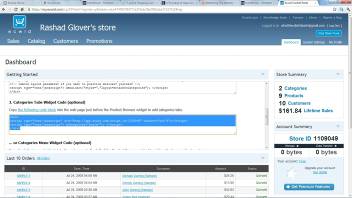
(Screenshot of my new Ecwid account’s home page.)
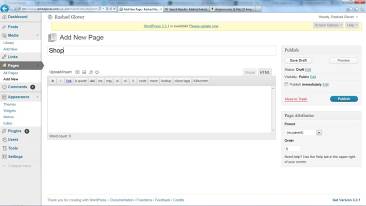
(Screenshot of me adding a new page on my personal WordPress website.)
(Screenshot of me copying the block of HTML code.)
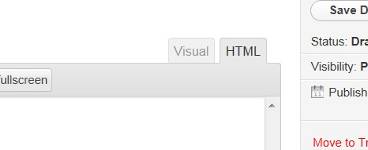
(Note: Make sure your HTML tab is selected or your WordPress wont create your store)
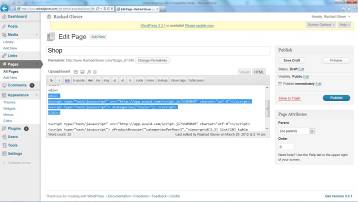
Now make sure that all your HTML is in the box. It should start with <div> and end with </div> . Just think of <div> as a divider for your blocks of code.
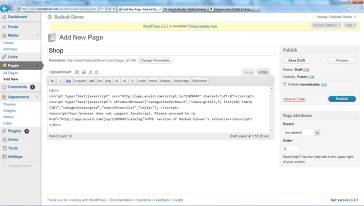
(Screenshot of pasting in my block of code beginning with <div> and ending with </div>.)
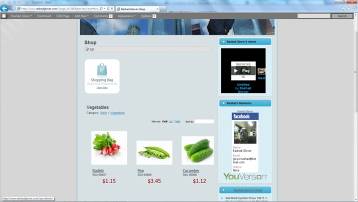
This is where it gets super cool! Press the preview button in the top right corner of your WordPress screen and it should launch your sample store within your site. Click on one of the categories, fruit or vegetables. I chose vegetables and Ecwid.com lists everything in their sample files under the category vegetables.
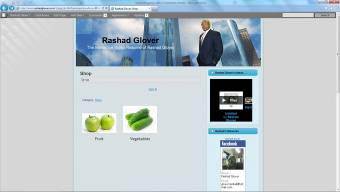 (Screenshot of me previewing my store with in WordPress.)
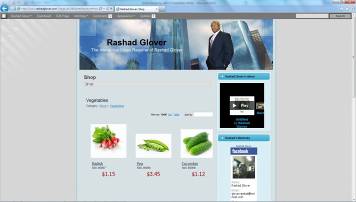
(Screenshot of the vegetables listed under the category vegetables.)
Now add a badge widget to your store by copying the code that’s related to the badge and paste it like you did before, but this time you’re going to paste the new code over the old code. This badge is very cool and interactive. You can now drag and drop items to the badge without even leaving your page.
(Screenshot of me copying the badge code from Ecwid.com.)
(Screenshot of my new badge.)
(Screenshot of me copying the code for the Tab’s widget.)
Now I’m going to paste the “Categories Tab” code between the badge widget and the store code. The result should look like the following photos.
(Screenshot of me pasting the Categories Tab code.)
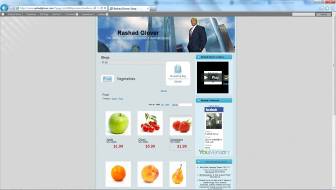
(Screenshot of my website after I added the categories between the first and second codes we added before)